
Resistance Bands for Beginners: Types, Resistance Levels and What to Buy
You want to start exercising at home, so you look for resistance bands. A few minutes later, you are comparing tiny loops, tubes with handles and thick bands advertised for pull-ups. They all promise a good workout, but they do quite different jobs.
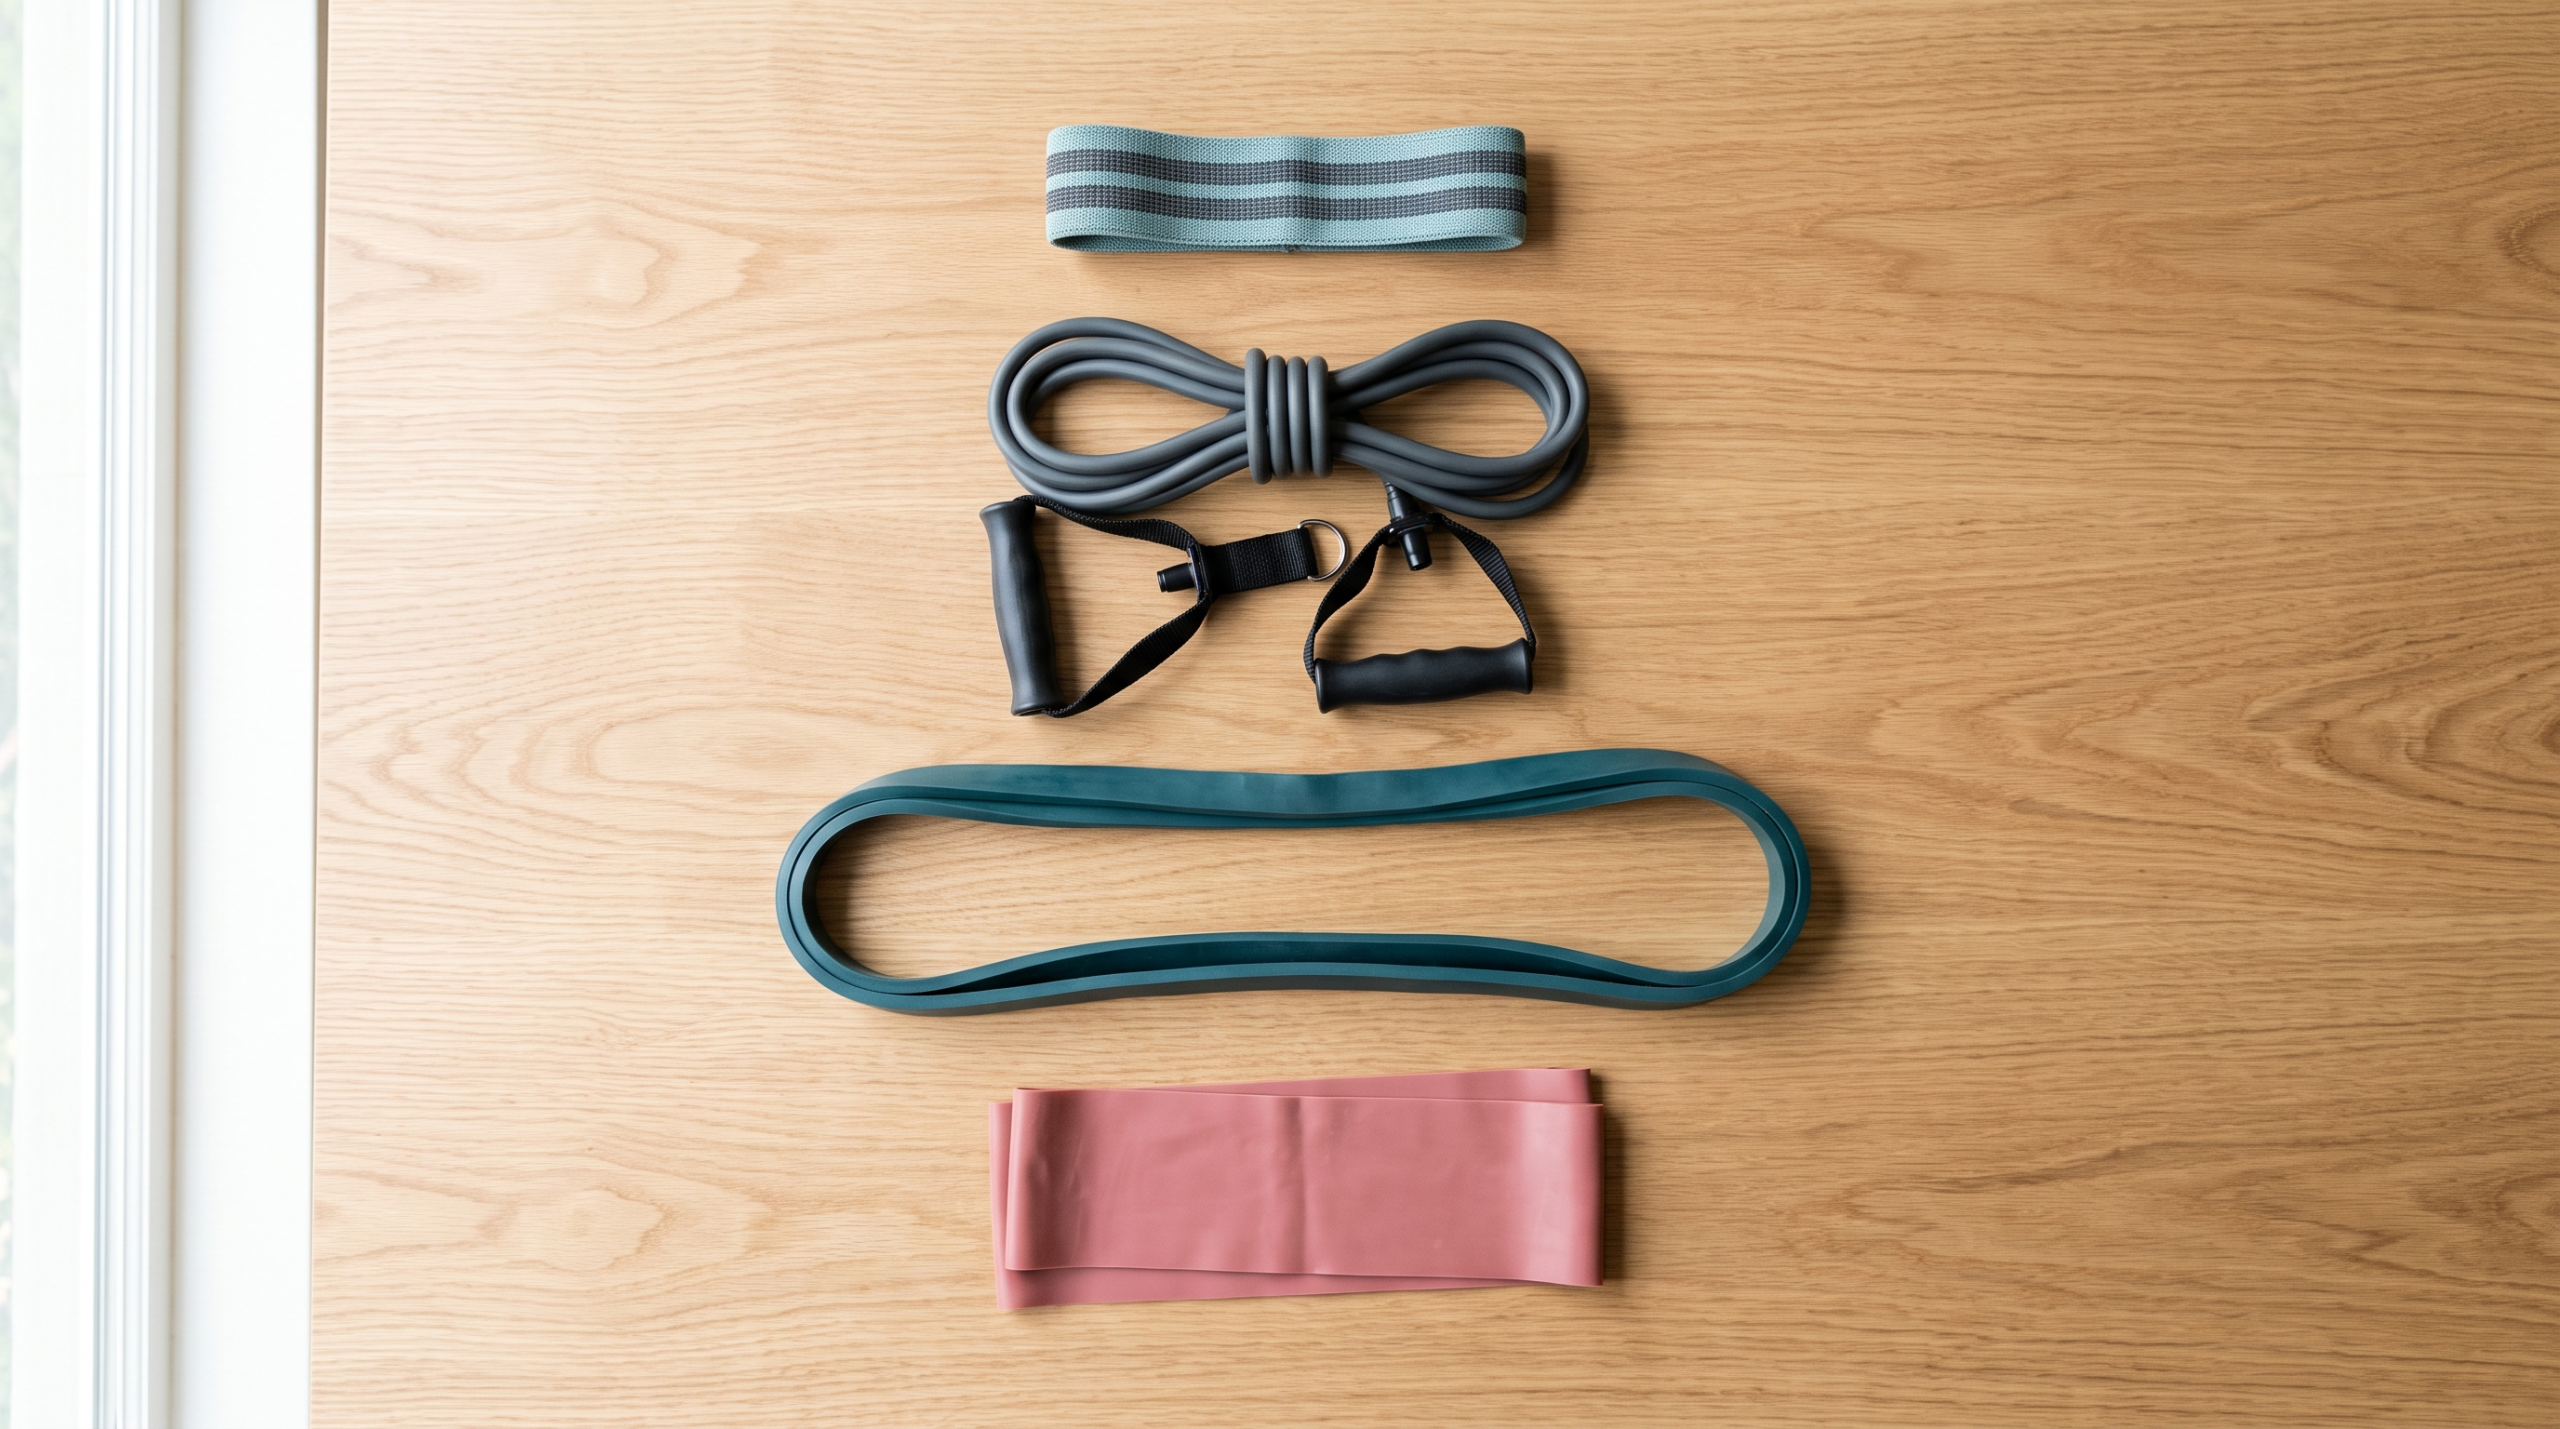
The easiest way to choose is to start with the exercises you want to do. For curls, rows and presses, consider tubes with handles or long loop bands. For side steps and other hip exercises, mini bands are a useful addition. You do not need a large collection to begin.
This guide explains the differences, the features worth checking and how to choose a manageable resistance. It is a buying guide, not a hands-on product review; Fitness With Fun has not tested the products discussed or ranked individual brands.
Which type of resistance band should you buy?
Use this table to narrow down the format before comparing sets or prices.
| Band type | Useful for | Main advantage | Main limitation |
|---|---|---|---|
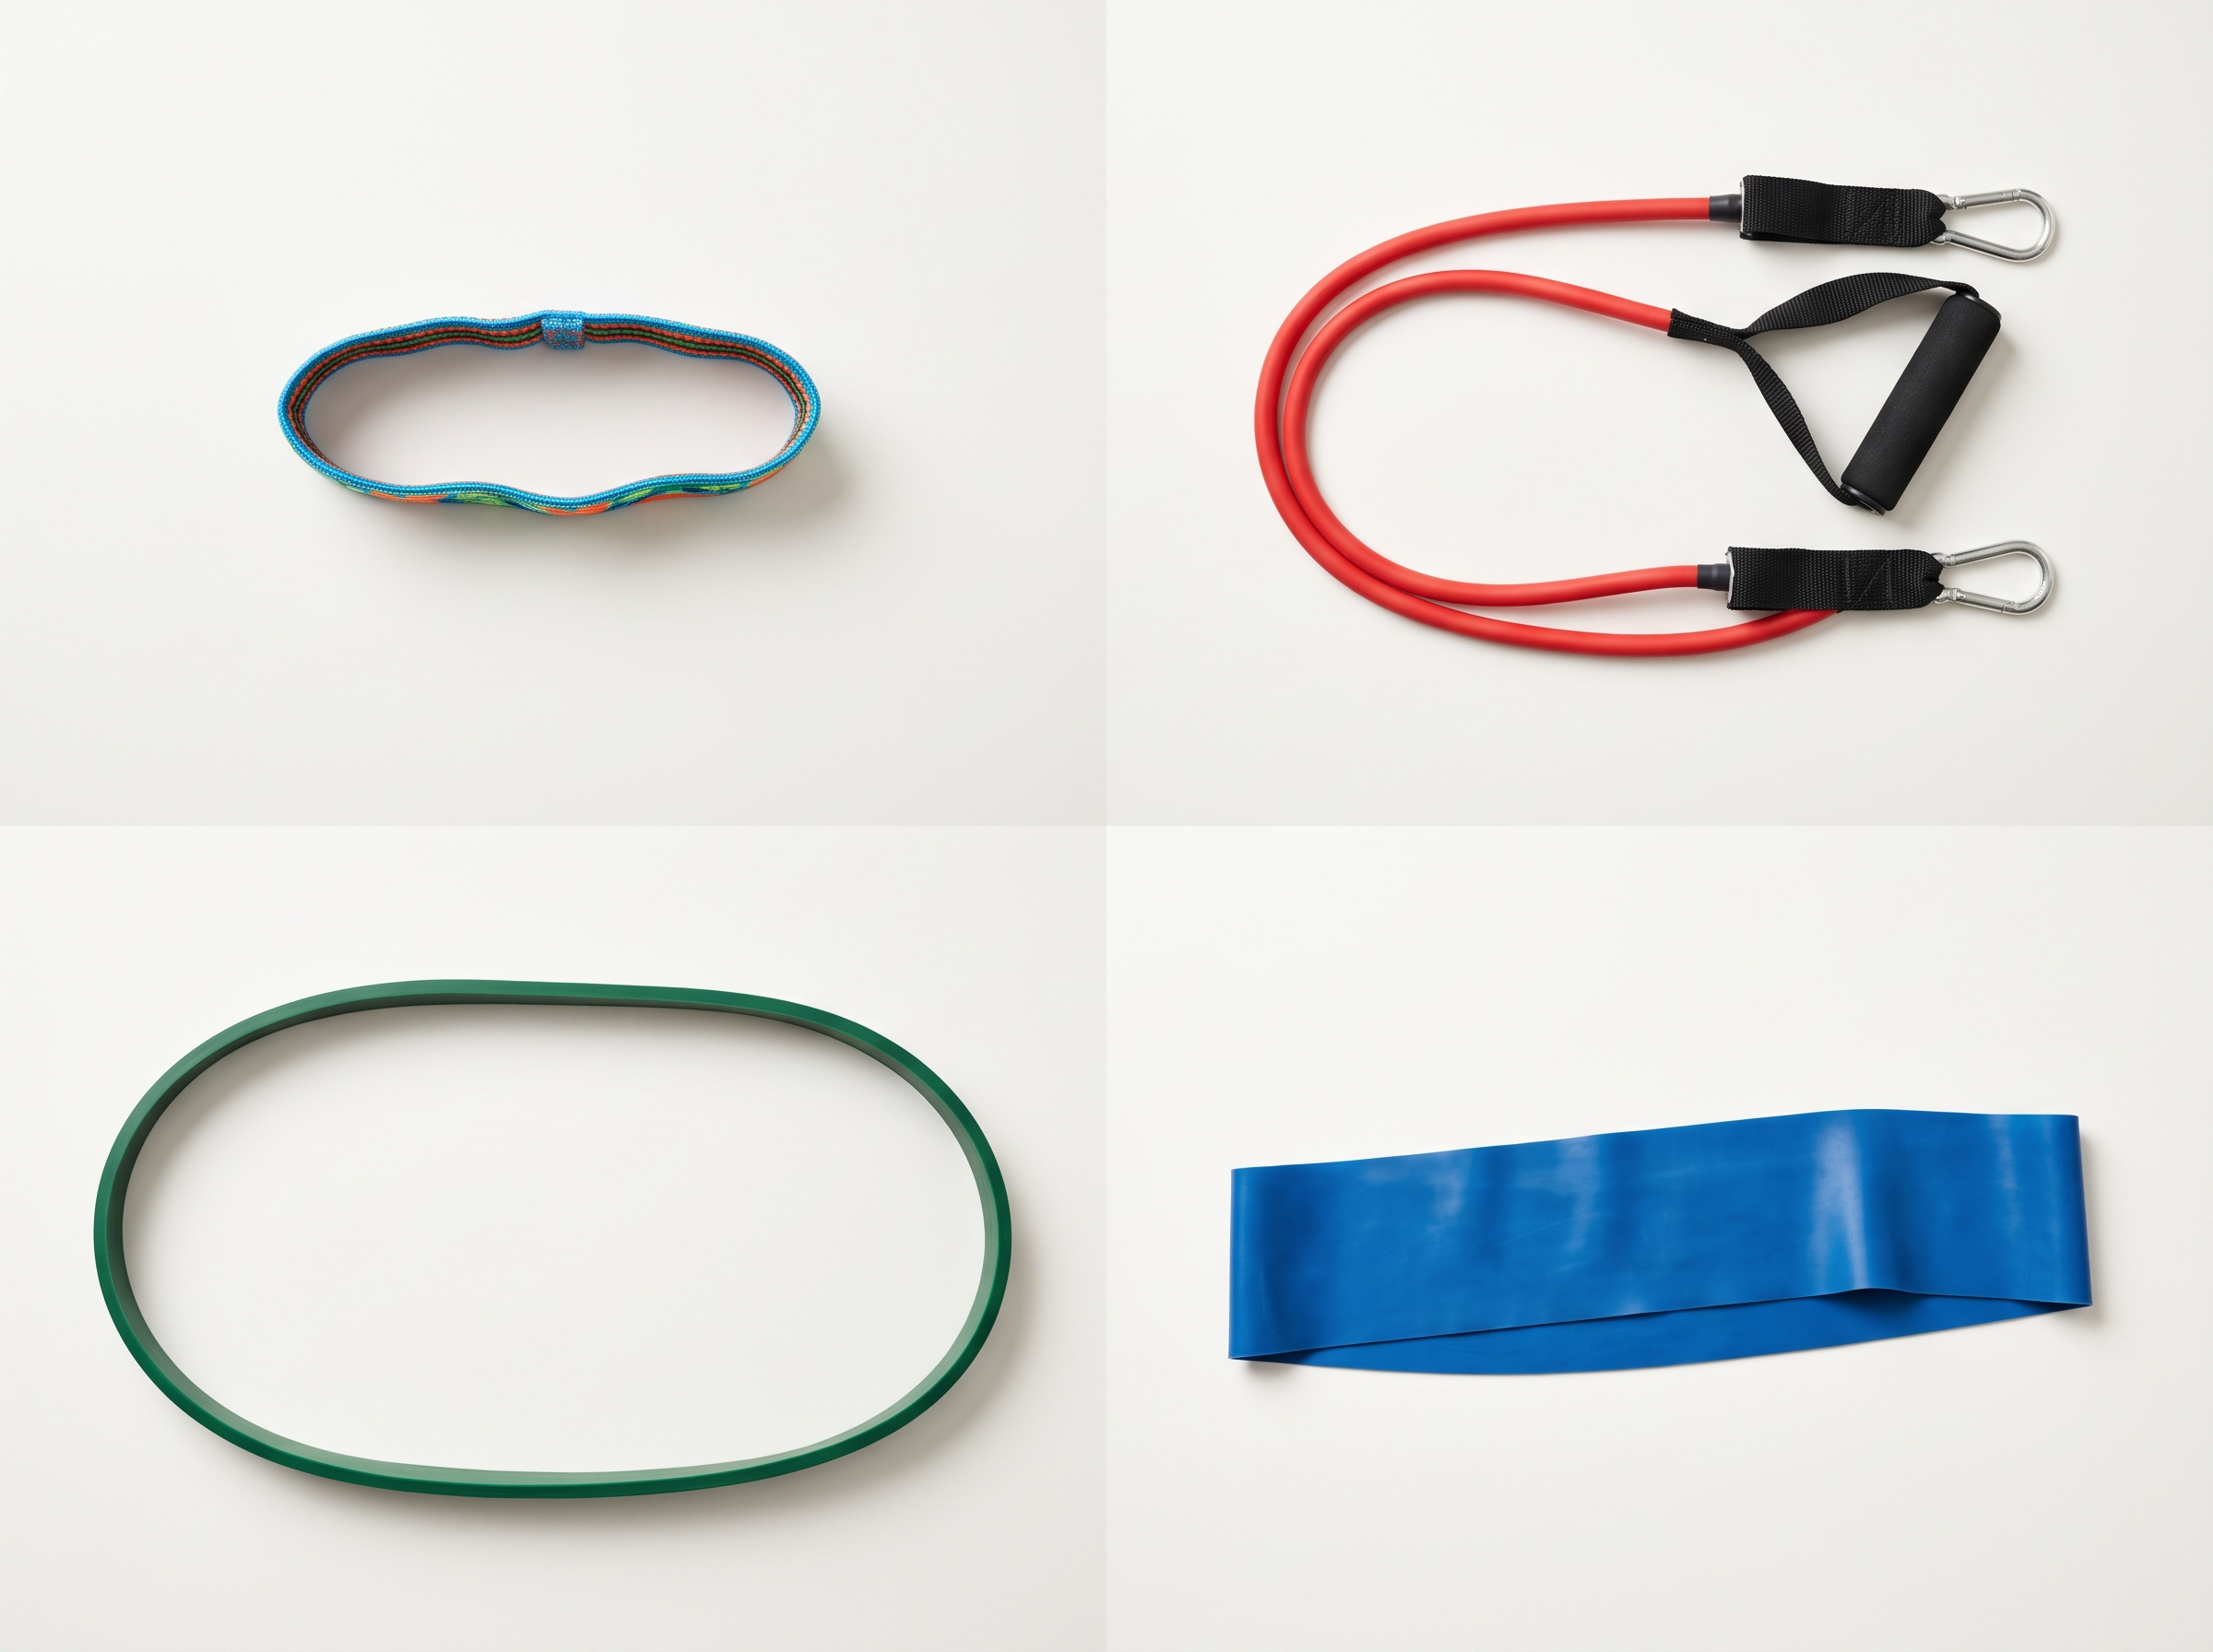
| Mini loop bands | Side steps, clamshells and banded glute bridges | Compact and convenient for hip exercises | Too short for many upper-body exercises |
| Tube bands with handles | Curls, rows and chest presses | Handles provide a familiar grip | Anchored exercises need a suitable attachment point |
| Long loop bands | Rows, presses, squats and assisted pull-ups | One format can support many exercises | Grip and setup take practice; thick bands can be difficult to manage |
| Flat, open-ended bands | Light strengthening and clinician-guided rehabilitation | Grip spacing can be adjusted easily | Holding the ends securely may be awkward |
For a first purchase: choose a format that fits your planned routine, with a few usable resistance levels. Add mini bands if your routine includes exercises that need them.
What makes resistance bands useful at home?
Bands add resistance without taking up much space. They are easy to carry, and they can make pulling exercises possible when you do not have dumbbells or a cable machine.
For example, a basic home routine might already include squats and wall push-ups. A band row gives you another way to challenge your back and arms. Bands work alongside body-weight exercises; you do not need to replace every exercise with a band version.
The CDC recognises resistance bands as one way to do muscle-strengthening activity. Its adult guidelines recommend strengthening all major muscle groups on at least two days a week, alongside aerobic activity such as brisk walking. Owning a band is only the starting point: the exercises, effort and consistency matter. CDC: What counts as physical activity, CDC: Adult activity overview.
The four main types, explained
1. Mini loop bands: useful for hip and glute exercises
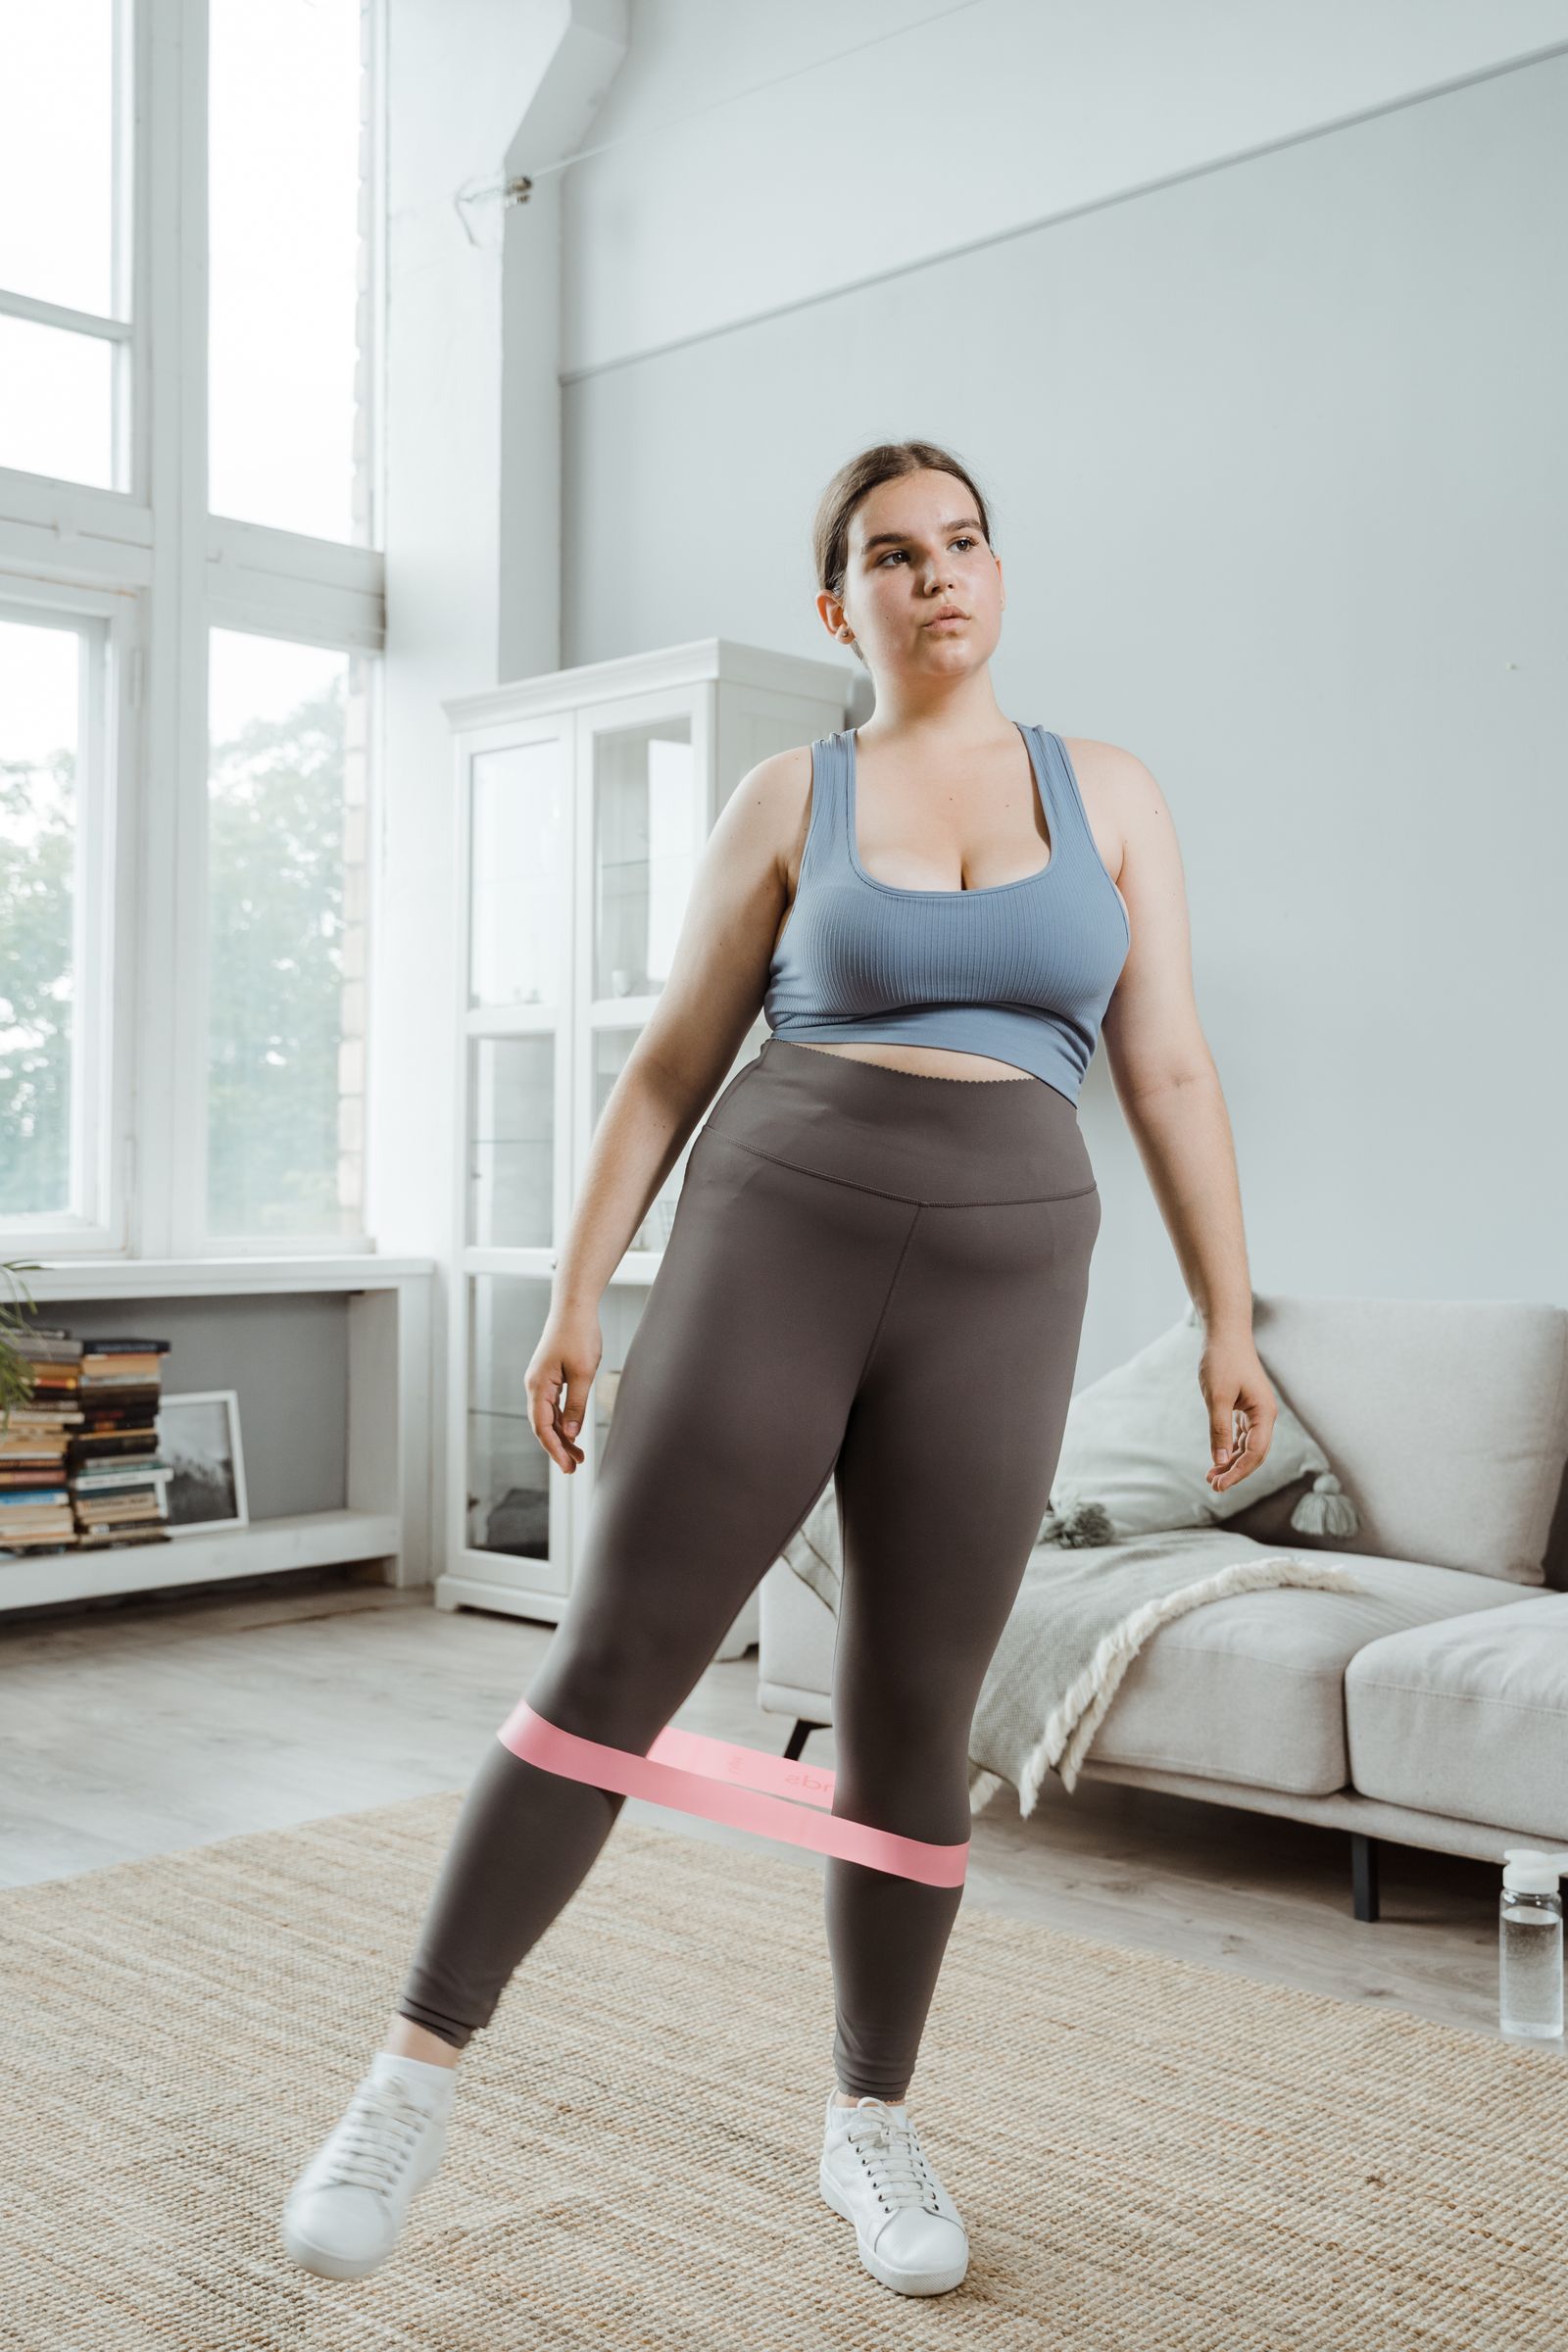
Mini bands are short, closed loops. You will usually see them placed around the thighs or lower legs during exercises such as lateral walks and clamshells.
They come in thin rubber versions and wider fabric versions. Thin loops are easy to pack, but may roll or bunch during movement. Wider fabric loops may feel more comfortable against clothing, although some are quite stiff even at their lightest setting.
Choose these if: your routine calls for a short loop around your legs.
Check before buying: whether the lightest band allows you to perform the movement comfortably. A mini band that barely lets your knees move apart is not automatically a better choice.
Mini bands are useful accessories, but they are not interchangeable with long bands. Do not buy a mini-band set expecting it to cover every row, curl or press in a full-body routine.
2. Tube bands with handles: convenient for curls, rows and presses
These have flexible tubing attached to handles, either permanently or through clips. Some sets include several tubes, a door anchor and ankle straps.
Handles can make the grip easier to understand than holding a flat strip of rubber. For exercises that use an anchor, however, the quality and suitability of the whole setup matter: tubing, clips, straps, anchor and attachment point.
Choose these if: you want handles and plan to follow a routine designed for tube bands.
Check before buying: how the handles attach, whether the instructions explain the setup, and whether you have a suitable place for any anchored exercises.
Only combine tubes if the system is designed for stacking, and stay within the limits of its handles, clips and anchor.
3. Long loop bands: versatile, but check the dimensions
Long loops are continuous bands that can be held, stood on or attached to compatible anchors. They are often marketed as power bands or pull-up assistance bands.
Within the same product range, wider or thicker bands generally provide more resistance. The heaviest option can be far too demanding for a beginner’s upper-body exercise, even if it is useful for a different purpose.
Choose these if: you want to use one band format for several exercises and are willing to learn the setups.
Check before buying: whether the listed length means the loop laid flat or its full circumference. Those are different measurements, and product listings can be confusing.
Pull-up assistance also works differently from ordinary band exercises: a stronger band generally gives you more help lifting your body, making the pull-up easier. Choose it for that specific task rather than treating “heavy” as an advanced-user label.
4. Flat, open-ended bands: adjustable and available in light resistance
These are long strips without handles or a closed loop. They are often used in physiotherapy, but they are also available for general strengthening.
You can adjust the distance between your hands to suit an exercise, within the product’s stretch limits. They come in different resistance levels, so “therapy band” does not necessarily mean very light.
Choose these if: you want a simple strip for light strengthening, or your physiotherapist has specified this format.
Check before buying: the resistance, usable length and whether you can maintain a comfortable, secure grip. For rehabilitation, follow the prescribed exercise and resistance rather than choosing by the product name alone.
How to choose the right resistance level
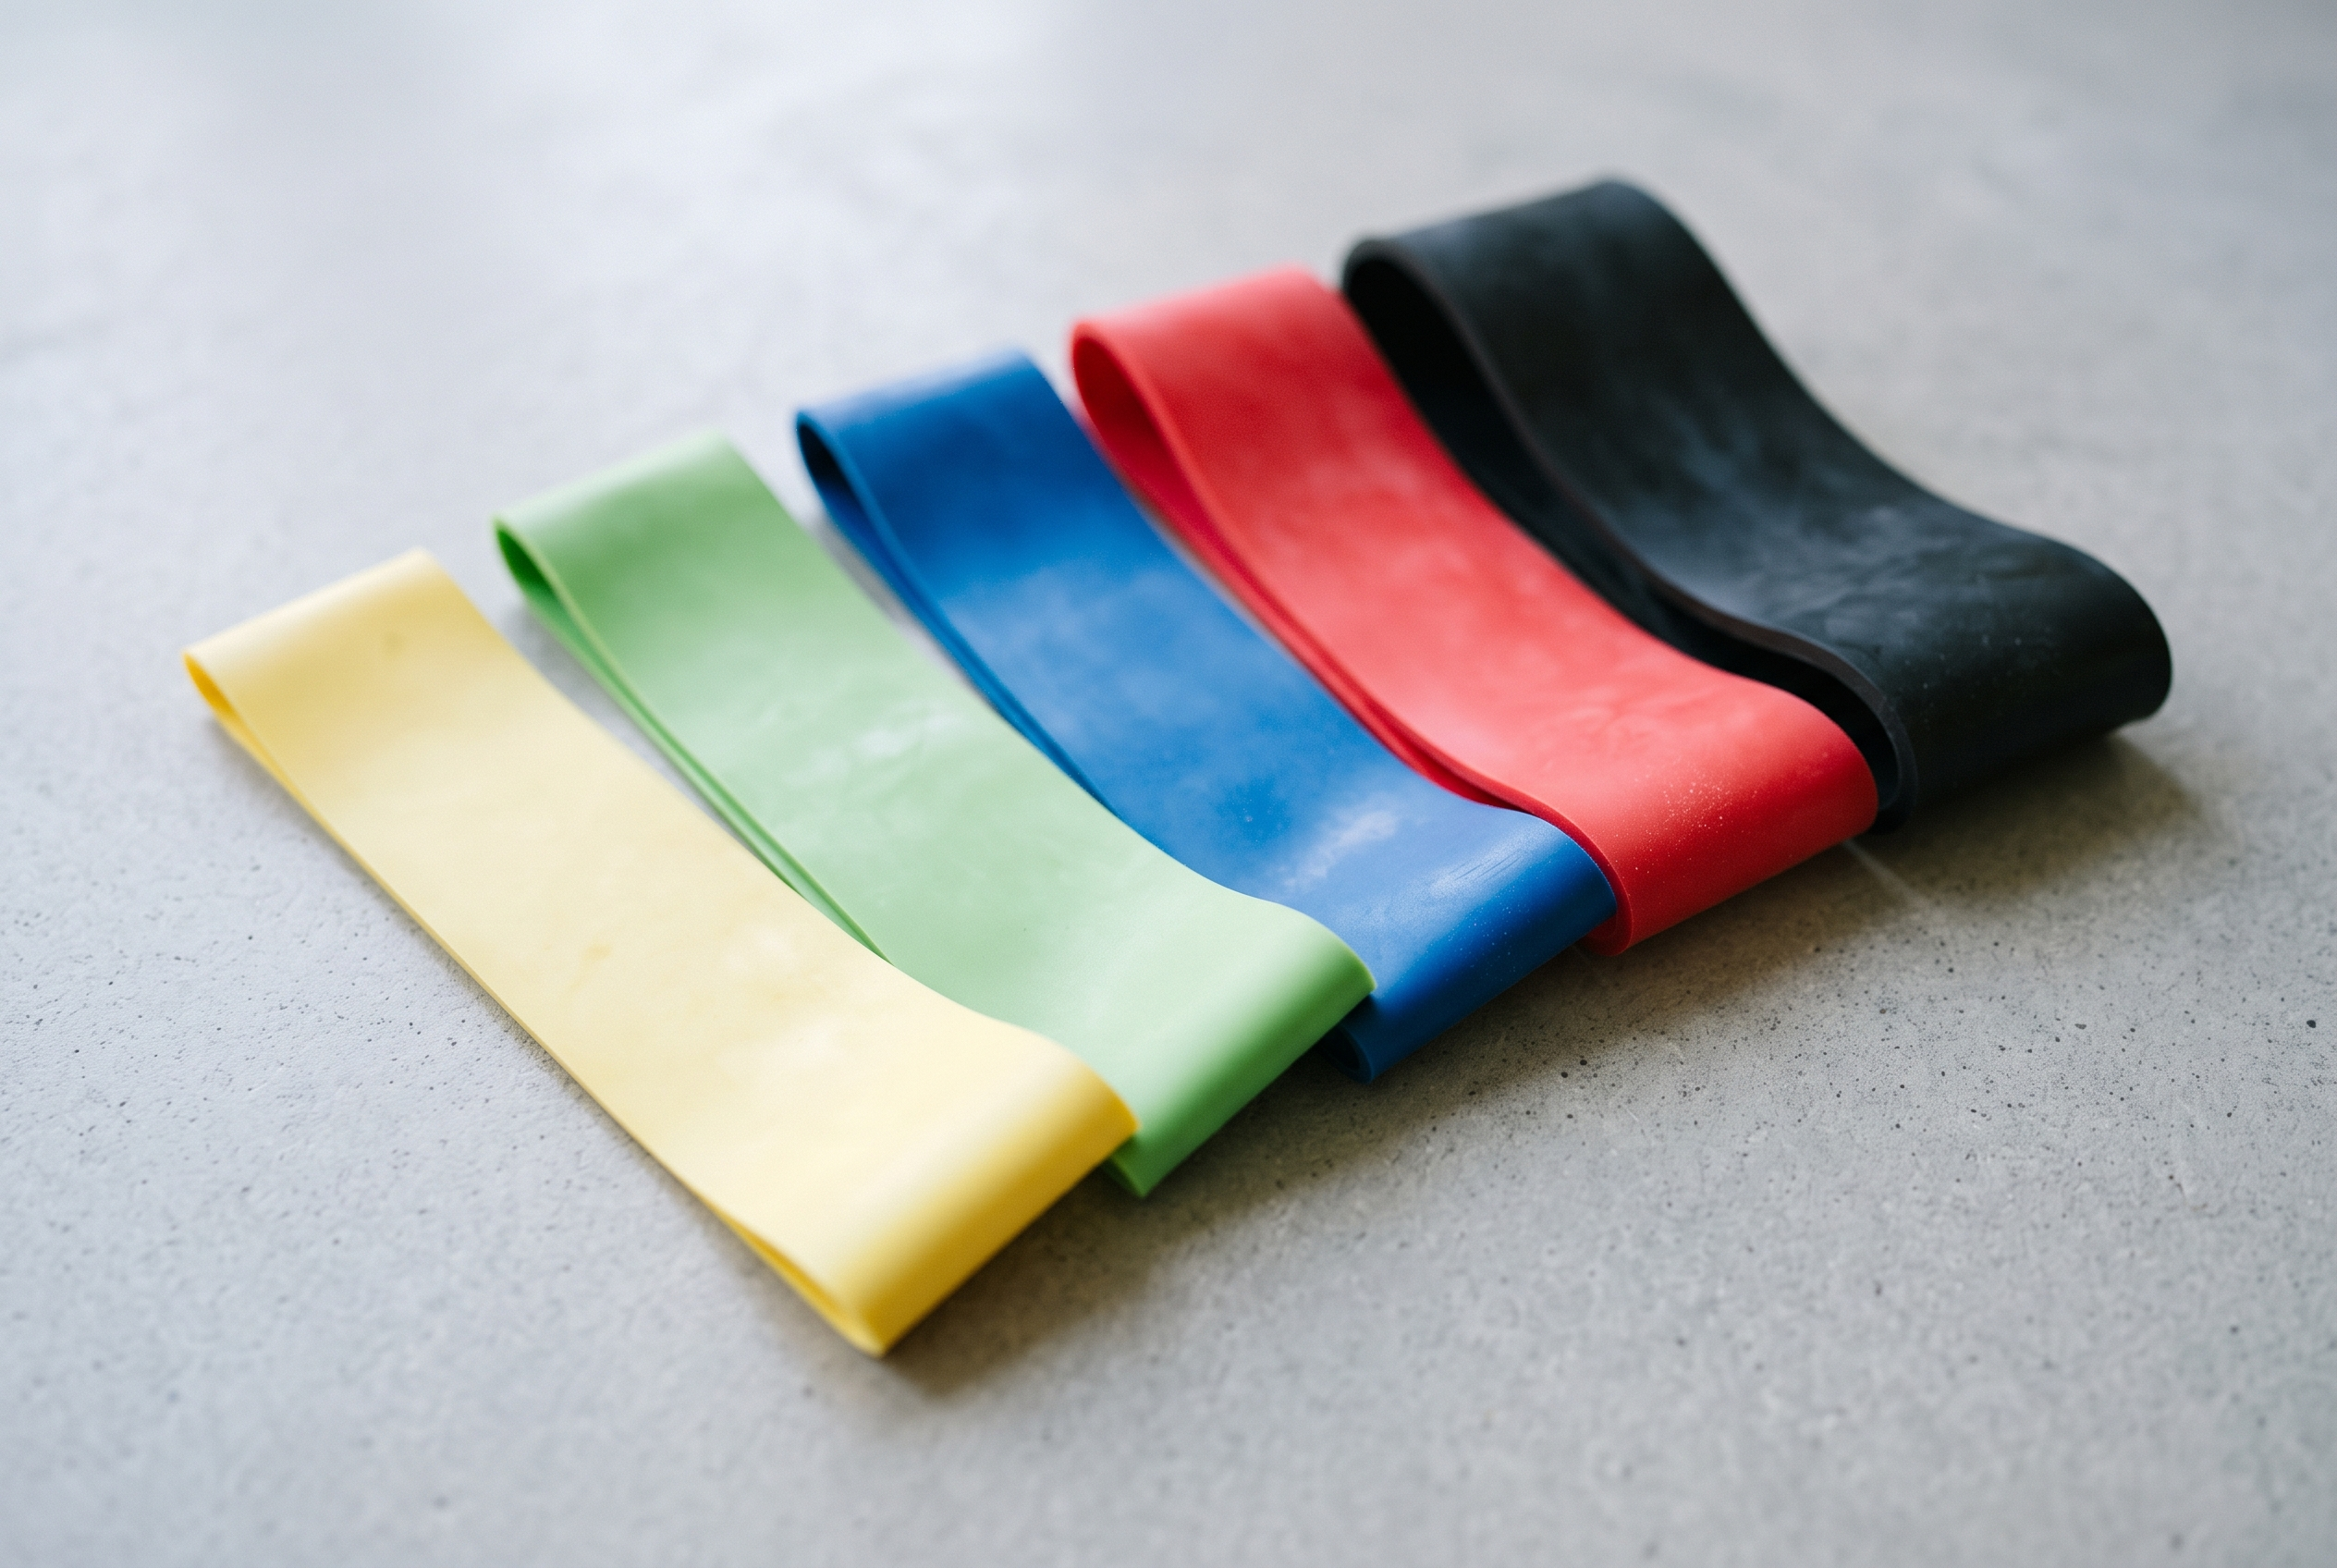
A label such as “medium” is most useful when comparing bands within the same range. Do not assume that another company’s medium band will feel the same, or that a particular colour always represents the same resistance.
The resistance also increases as you stretch the band. That means a band marked “10 kg” does not behave like a 10 kg dumbbell throughout a movement. Look for an explanation of how the manufacturer measured the rating. Decathlon: Resistance bands and exercise bands.
Use a controlled set to judge the difficulty
For general beginner strengthening, 8–12 repetitions is a useful starting range, not a strict pass-or-fail test. The CDC suggests this range, beginning with at least one set and building toward two or three. CDC: Muscle-strengthening activity.
Start lightly while learning the movement. As you become comfortable, the later repetitions should require effort without forcing you to jerk, hold your breath or shorten the movement just to finish.
If the exercise remains easy, use a slightly stronger band at a later session. If you cannot control the return, reduce the resistance. You do not need to force a failed repetition to check whether a band is challenging.
Expect to need different levels for different movements. A band that suits a row may be too demanding for a shoulder exercise. This is why a small range of useful resistances is usually more practical than one very heavy band.
Make progress easier to track
Record the exercise, band used, repetitions and setup. For anchored exercises, note your approximate starting distance from the anchor; for flat bands, note your grip spacing.
Otherwise, a change in stretch can make the next session harder even though you are using the same band. Keep the setup consistent before deciding that you need more resistance.
Features worth checking before you pay
Material and allergy information
Read the full material description. If latex is a concern, choose a product explicitly labelled latex-free; do not assume a fabric surface guarantees this. The material inside a fabric band matters too.
Comfortable grip and suitable length
Handles should be comfortable to hold, and flat bands should give you enough material for a secure grip. Check the length against the manufacturer’s exercise examples, especially if you are tall or plan to do standing movements.
A band that is already stretched close to its limit before the movement begins is the wrong fit for that setup.
Instructions and accessory compatibility
Look for clear setup directions, stretch limits and care instructions. If a set includes an anchor, check which doors or other attachment points it is designed for. Extra accessories are useful only when they fit your routine and work safely with the bands.
Condition, support and replacement options
On arrival, inspect the bands, stitching, handles and clips. Look for damaged material, rough edges or loose connections before exercising.
Claims such as “layered,” “premium” or “anti-snap” do not prove how long a band will last. A clear return policy, contactable seller and available replacements are more useful than a claim that the product is unbreakable.
Buying mistakes you can avoid
Buying only mini bands for a general workout. They may suit your hip exercises while leaving you without a practical band for rows or presses.
Choosing by the largest resistance number. A headline total may add together several bands. Check the individual levels and the conditions used to measure them.
Assuming more pieces means better value. Count the components you will use. A smaller set with suitable resistance and clear instructions may serve you better.
Ignoring your exercise space. Before buying an anchor-based system, decide where you will use it. A product photo cannot tell you whether your door is suitable.
Using and storing bands safely
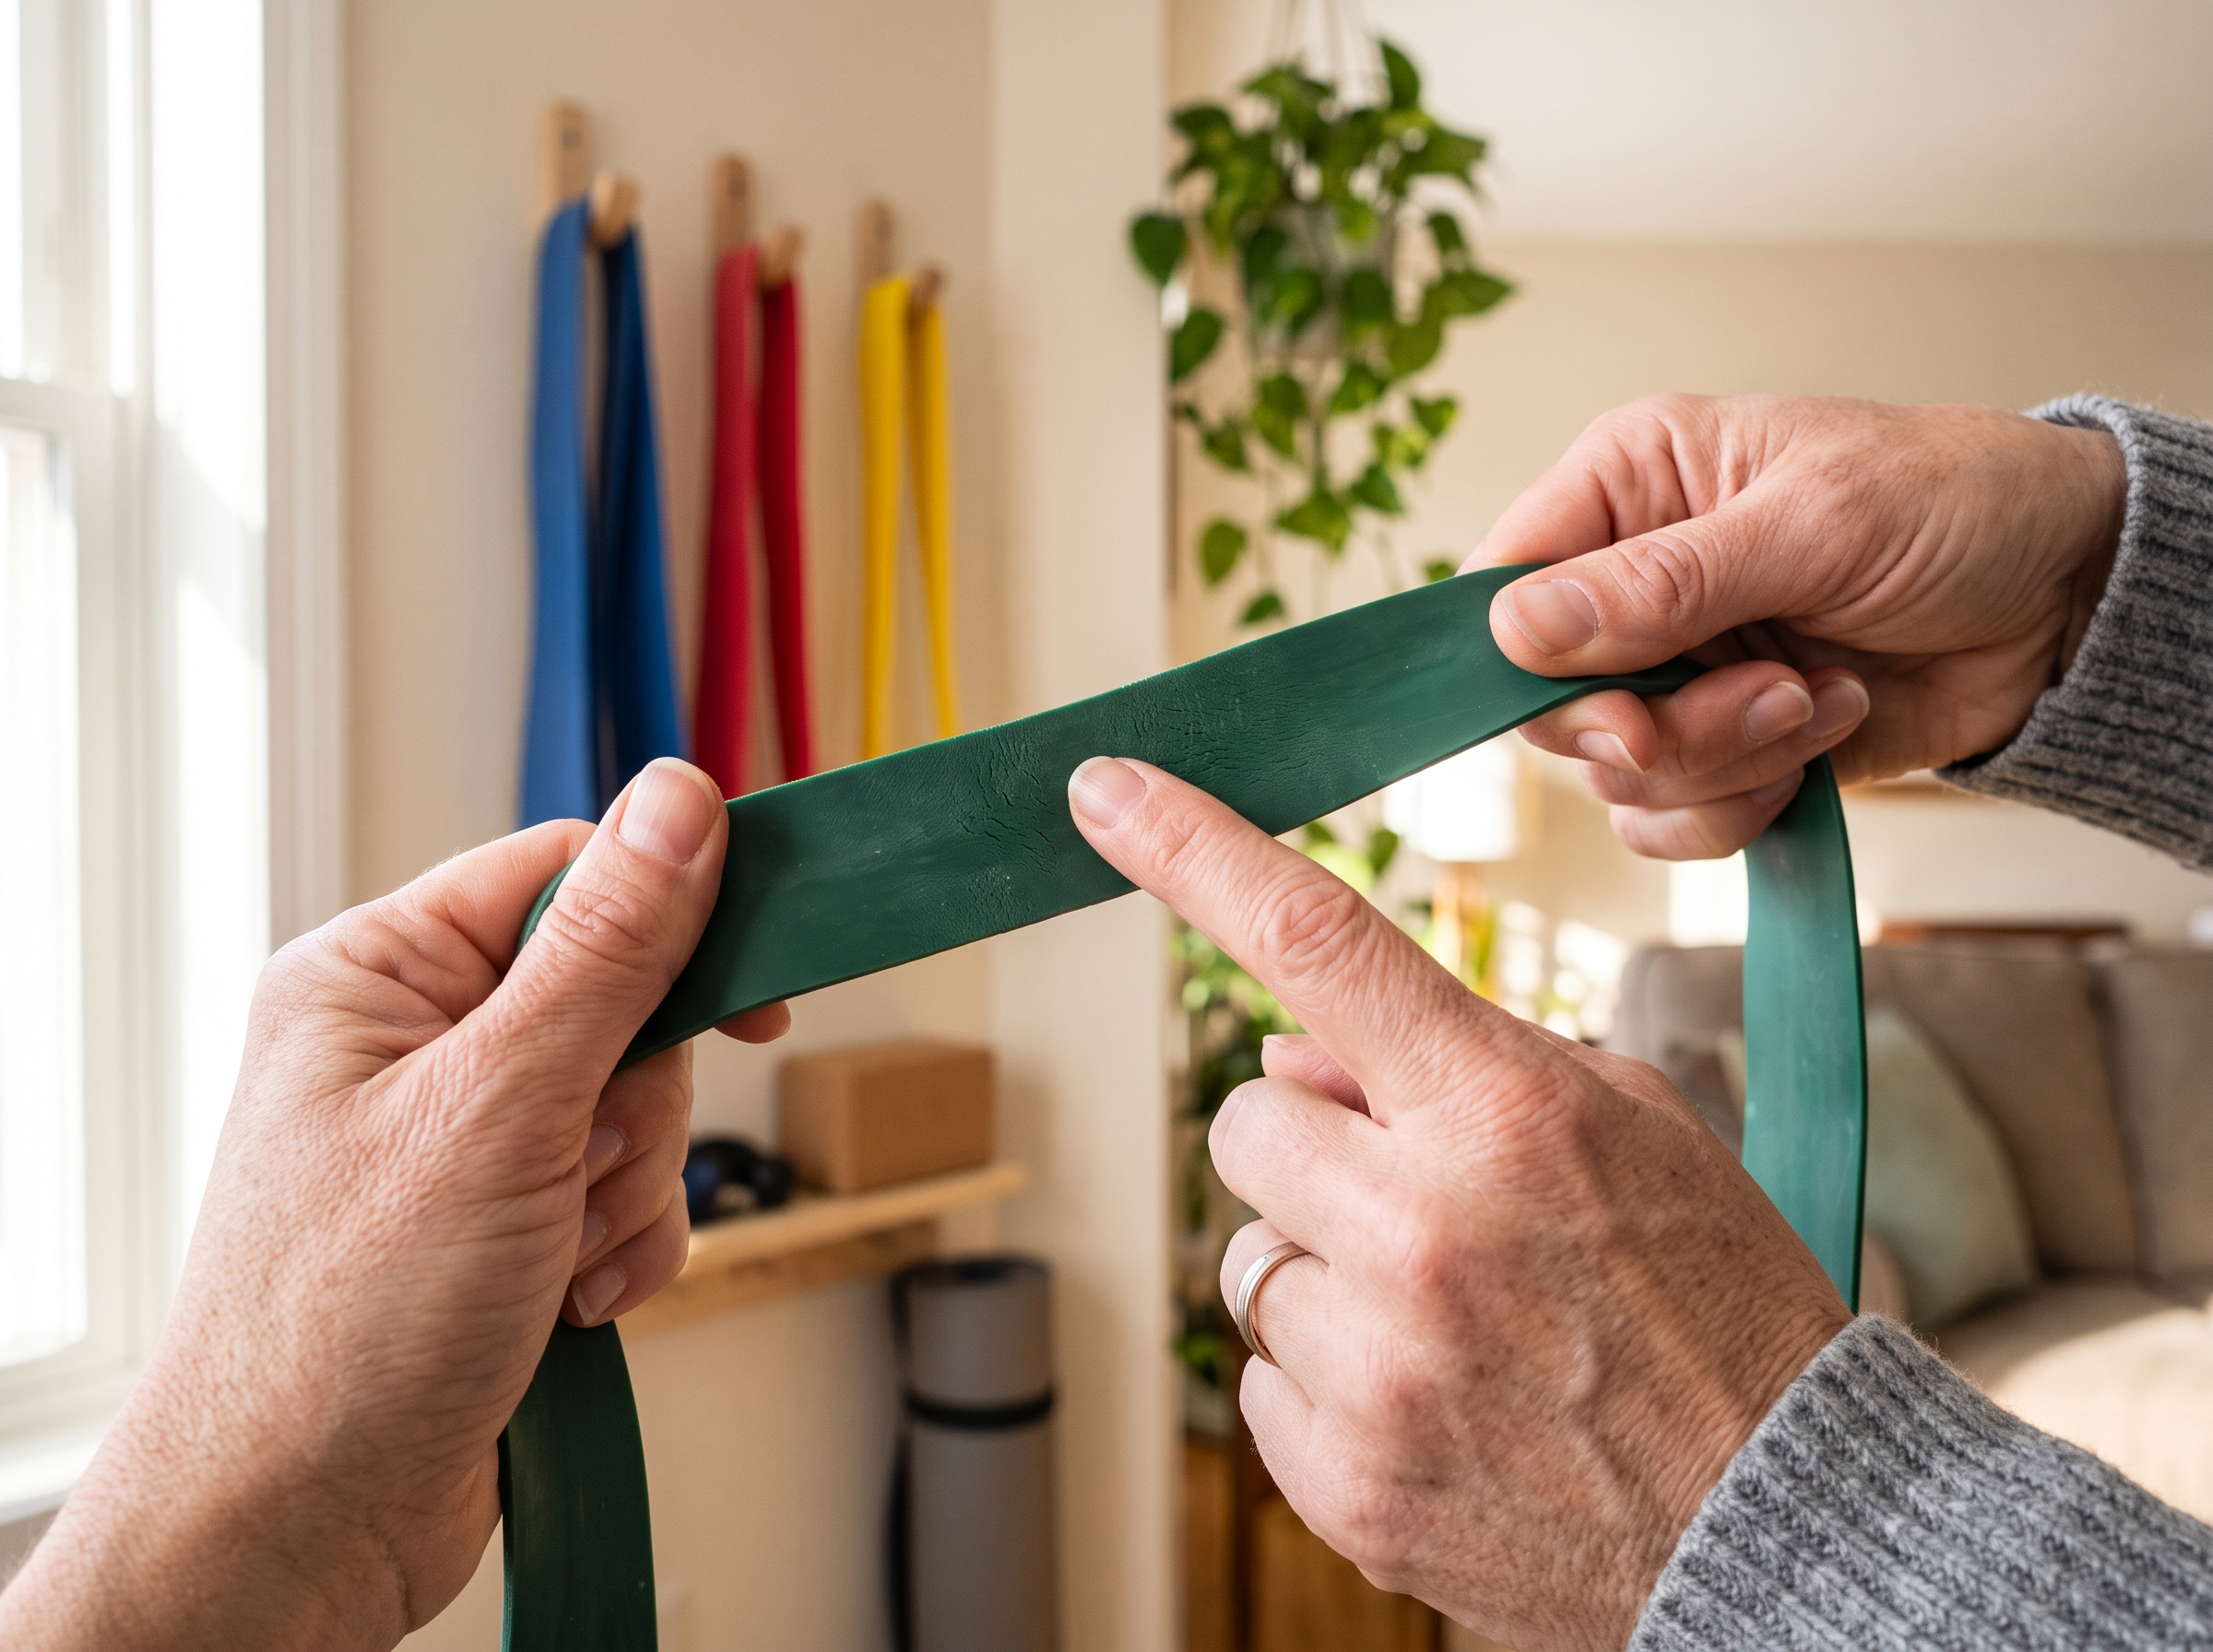
Before each session, check for cuts, cracks, thinning and damaged connections. Stop using damaged equipment; tape is not a repair for a resistance band.
Follow your product’s maximum stretch limit rather than applying one universal number. Keep bands away from sharp edges and control the return instead of letting them snap back. Manufacturer instructions may also require eye protection. THERABAND: Resistance band and tubing instruction manual.
For a door anchor, use the exact door type, position and pulling direction specified in its instructions. Keep others from opening the door and gently test the setup before exercising. If the door or frame is unsuitable, choose another exercise.
Store bands away from heat and direct sunlight, and follow the product’s cleaning instructions. Do not leave them in a hot car. Decathlon: Band care instructions.
Stop if an exercise causes sharp pain or dizziness. If you are managing an injury or are unsure which movements are suitable, ask a qualified healthcare professional for individual guidance.
How to fit your first bands into a routine
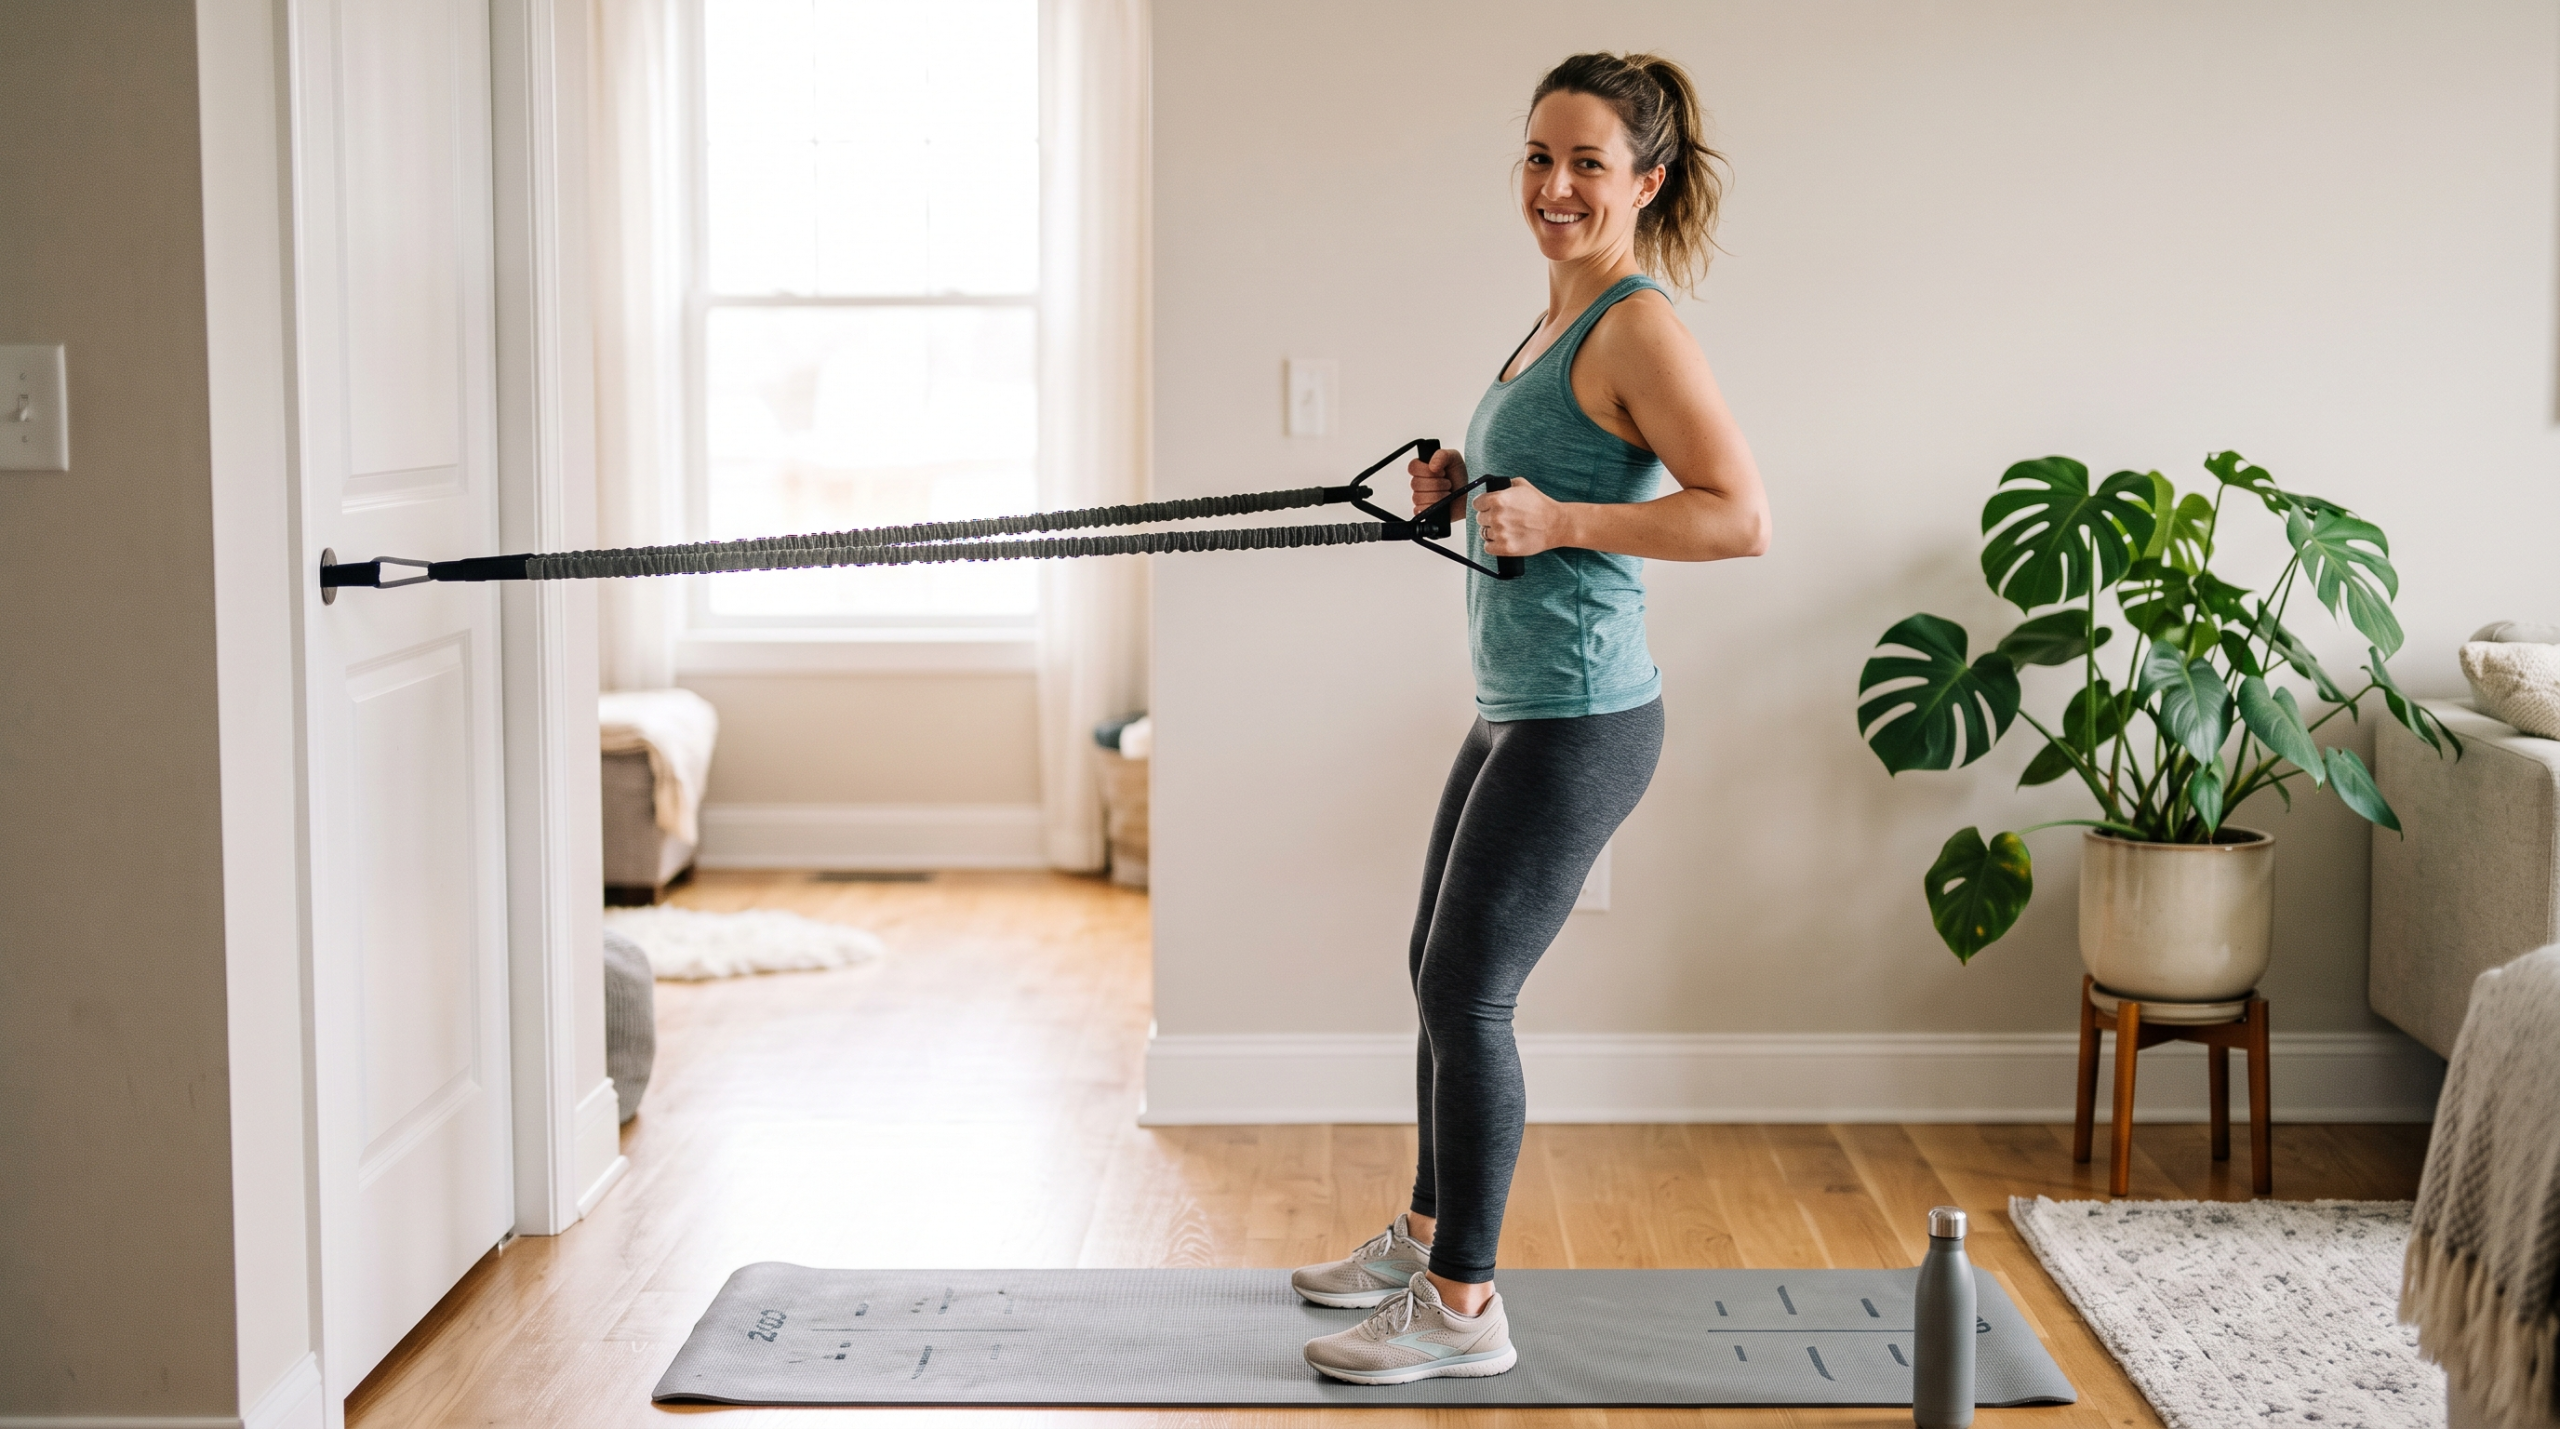
Start with exercises that match the equipment you bought. These examples show the connection between the band format and the movement; they are not a complete workout prescription.
| Example exercise | Suitable band format | What to learn first |
|---|---|---|
| Standing biceps curl | Tubes with handles or a long band | Secure the band as instructed and lower your hands under control |
| Band row | Tubes or a long band with an approved setup | Keep your torso steady rather than rocking backwards |
| Glute bridge with a band | Mini loop above the knees | Lift comfortably without over-arching your lower back |
| Lateral band walk | Mini loop, often above the knees to start | Take small, controlled steps |
| Band chest press | Tubes or a long band with an approved setup | Establish a secure attachment and controlled return |
Learn a small number of movements first, then build a routine that covers your major muscle groups. These examples alone do not establish that you meet the full activity guidelines; aerobic activity belongs in the weekly plan too. CDC: Adult activity overview.
For help arranging your sessions, see Home Workout Basics and the Beginner Fitness Guide.
Your first purchase can be simple
Write down the exercises you want to do, then choose a band format that supports them. Buy manageable resistance levels, check the material and instructions, and make sure any anchor suits your space.
You can add equipment later when your routine calls for it. For now, the useful purchase is the one that lets you start practising comfortably and consistently.
Fitness With Fun does not recommend specific products or use affiliate links in this article. This content is for general education and is not a substitute for personalised advice from a qualified healthcare professional.